

SSH allows you to connect to your Raspberry Pi from another computer, making it an essential tool for developers and hobbyists alike. In this post, we’ll explore four straightforward methods to enable SSH on Raspberry Pi OS, ensuring you can efficiently manage your projects with ease. If you followed my Install Raspberry Pi OS guide, then you already have SSH enabled.
Method #1 – raspi-config
The first method an important one to remember as the command raspi-config can be used to configure a variety of settings and configurations for your Raspberry Pi. To run it, log in to get a terminal and type the following command:
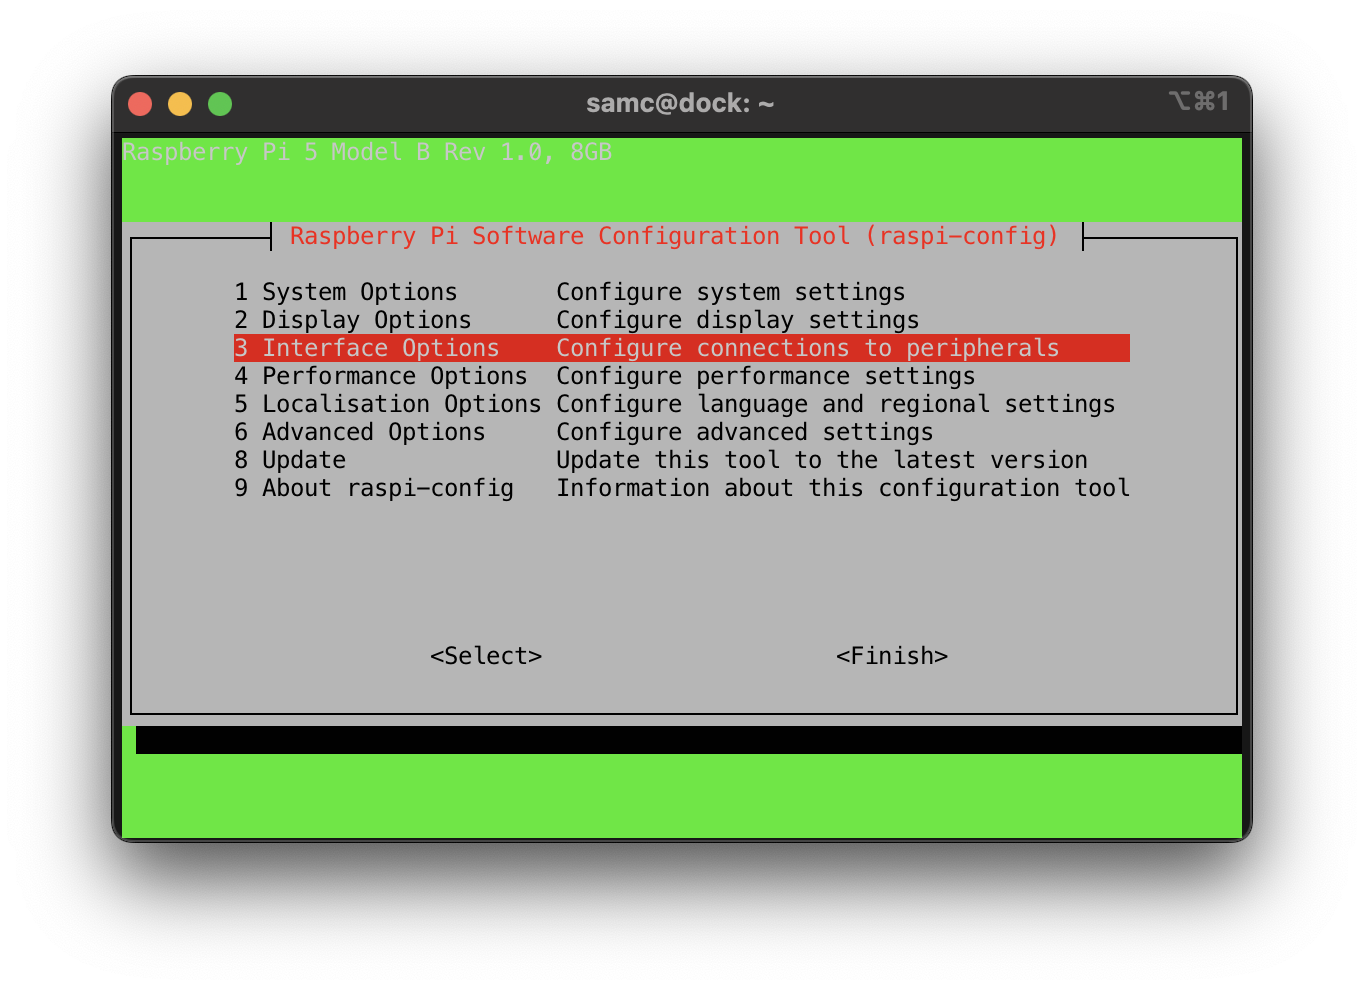
sudo raspi-config On the next screen, use the down arrow to select Interface Options and then press enter.
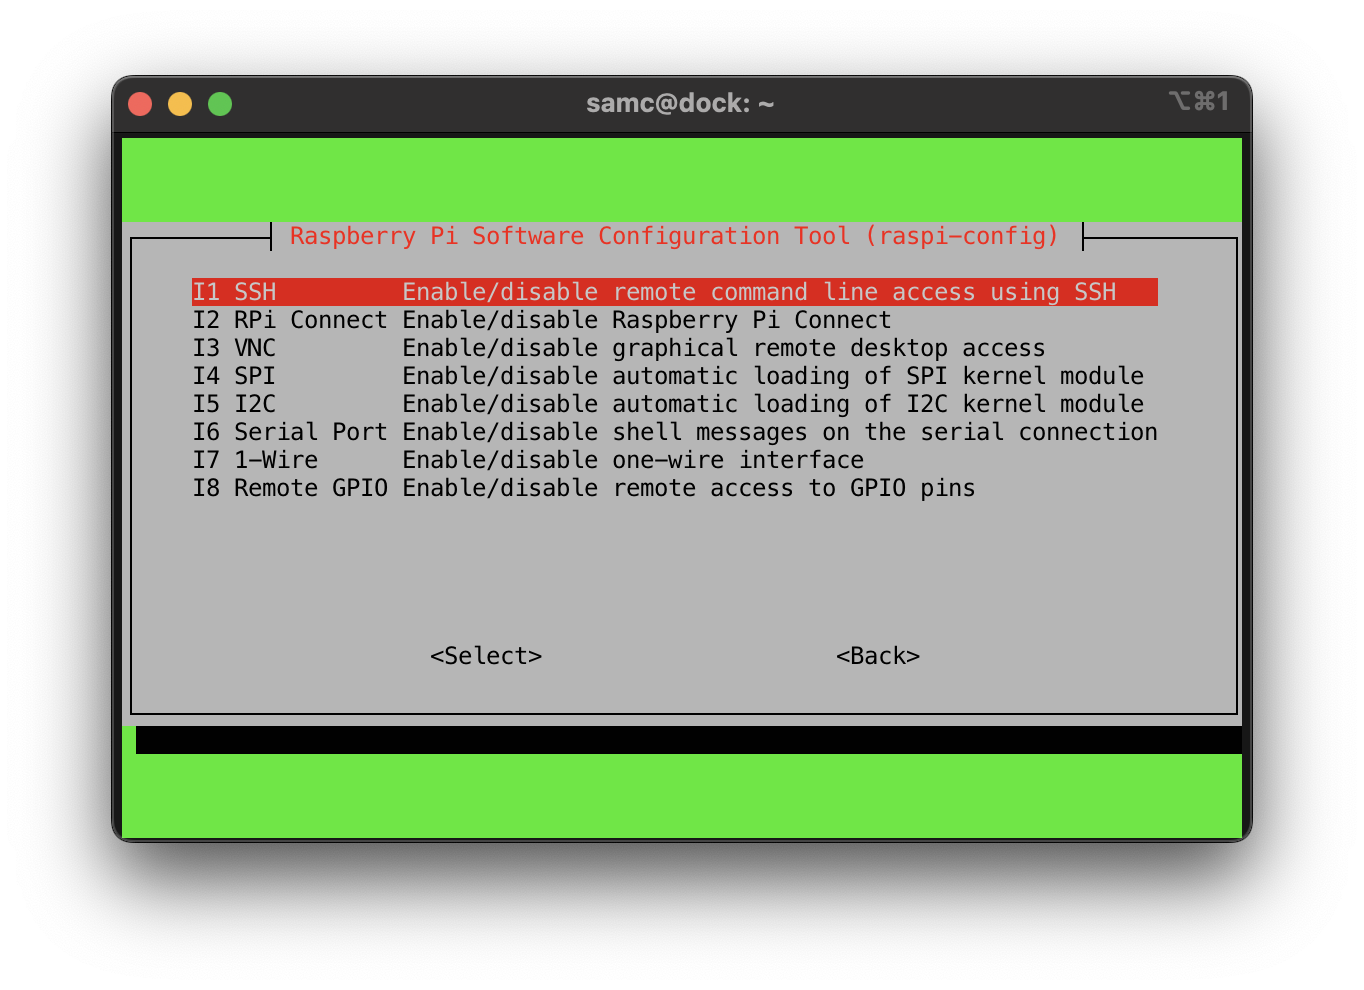
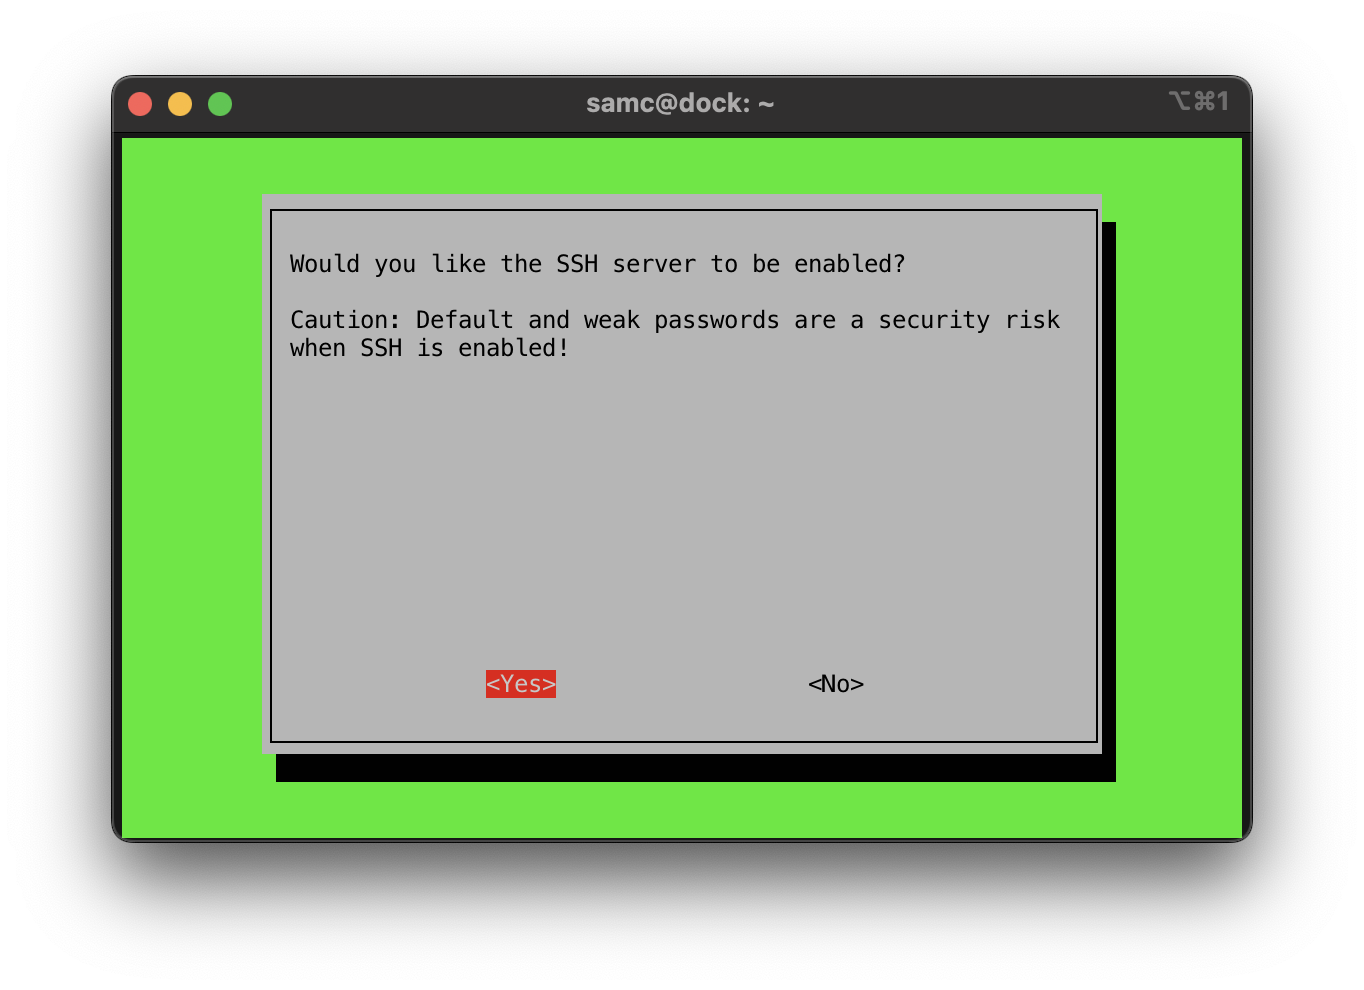
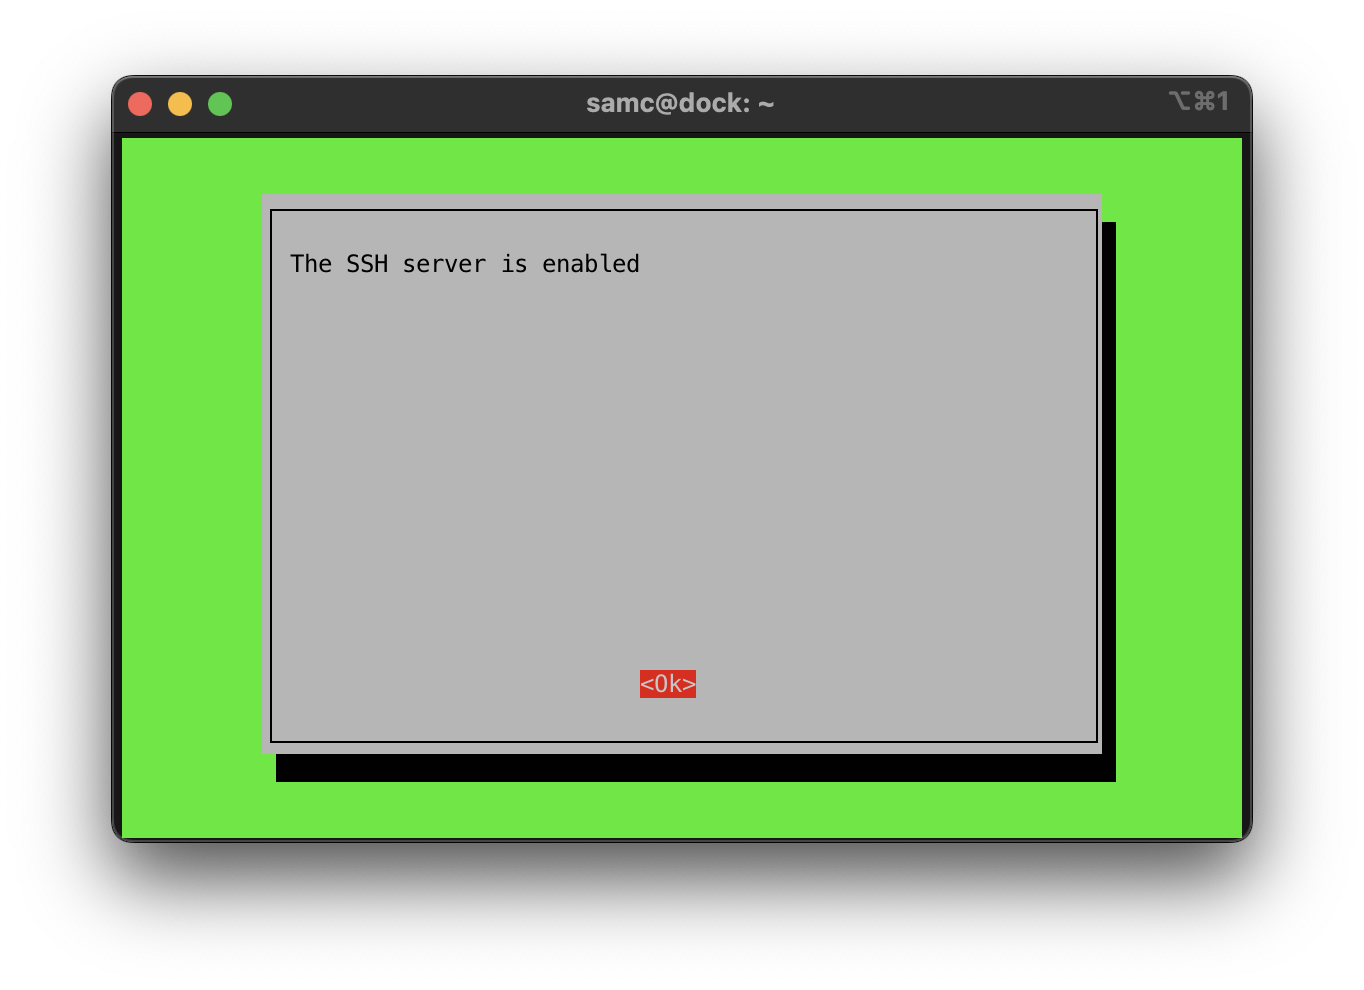
Now select SSH and press enter again. It will confirm you want to enable SSH. Select Yes and press enter. SSH is now enabled!
Method #2 – systemctl enable ssh
However, if your prefer to do things in a more Linux generic way, you can login to your Raspberry Pi. Then run the following command, authenticating as prompted:
systemctl enable ssh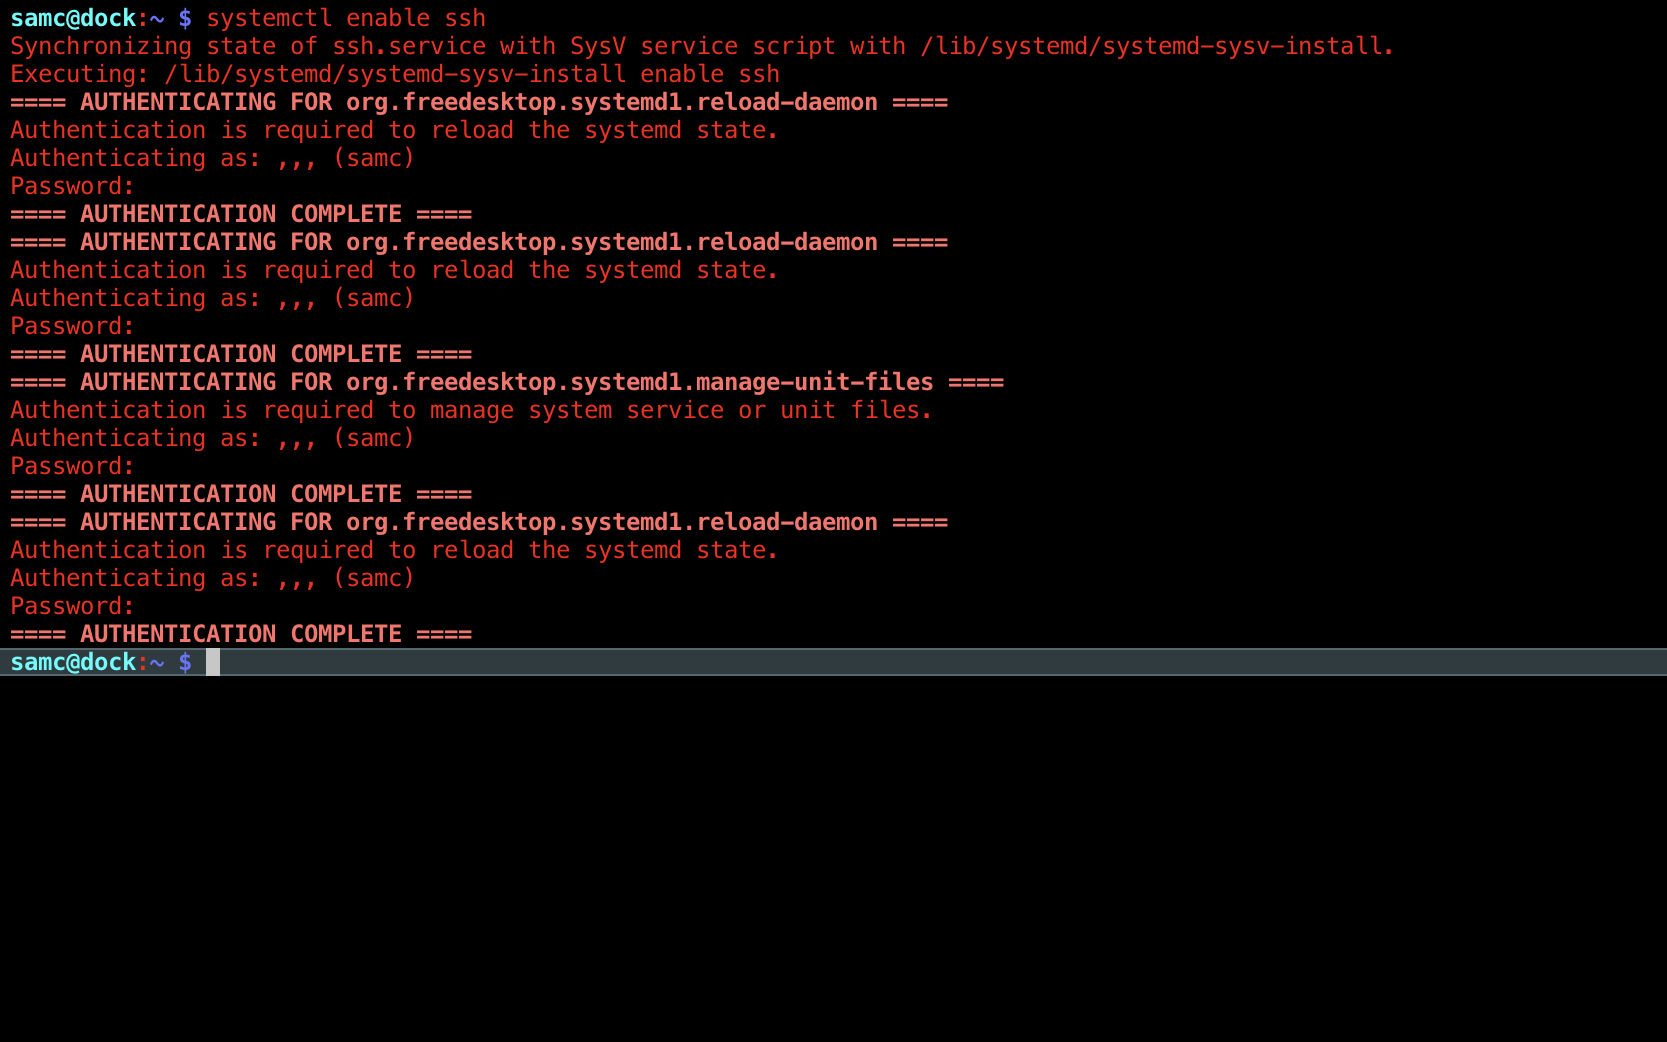
Next, we verify the status of ssh also using systemctl:
systemctl status ssh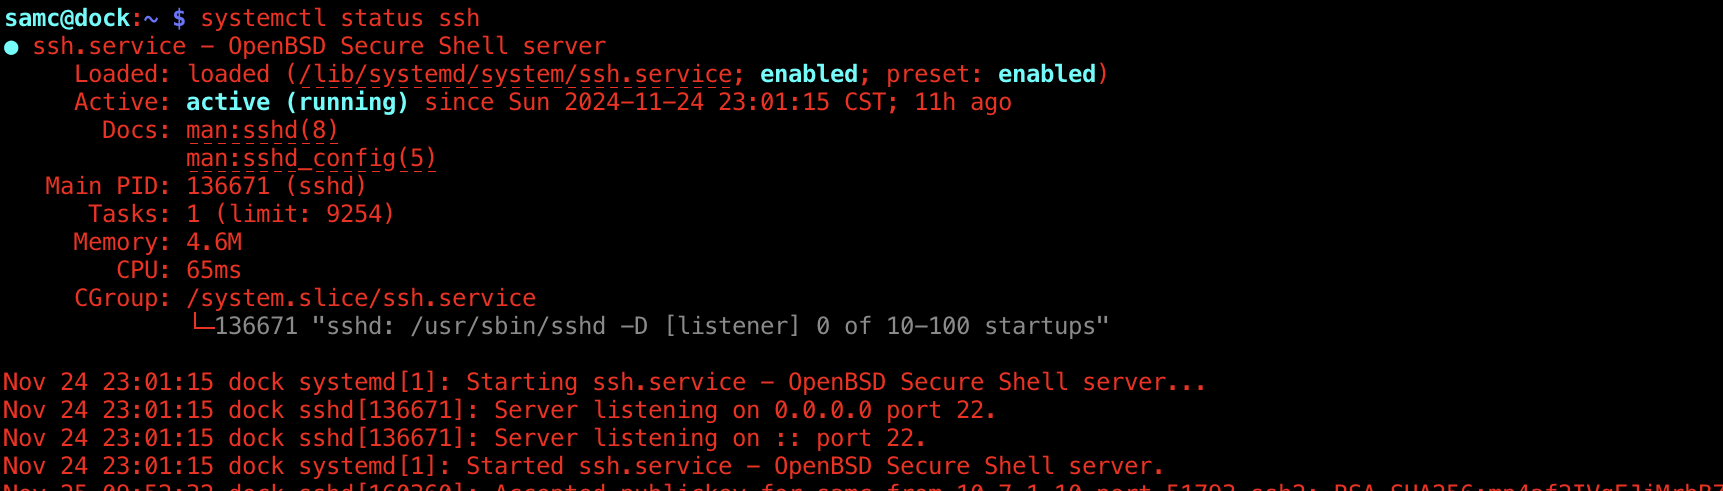
Method #3 – /boot/firmware/ssh
Additionally, you can enable SSH pre-boot, we need to create a file named ‘ssh’ or ‘ssh.txt’ in the boot directory on the SD card. To do this, we can either mount the SD card on another computer, and add the file or boot up your Raspberry Pi and run the following commands:
sudo touch /boot/firmware/ssh
sudo reboot now
If you want to do this headless, then plug your SD card into your reader on a different computer from your Raspberry Pi. Once mounted, navigate to the /boot/firmware folder and create an empty file named ssh or ssh.txt. On windows you can do this in Powershell like this, assuming your SD card is the I: drive.
cd I:
new-item ssh