
In the world of home labs, where tinkerers and tech enthusiasts build their own servers, NAS systems, and experimental setups, remote access is a game-changer. Whether you’re managing a Raspberry Pi cluster, a Plex server, or a simple Debian server for backups, being able to control your lab from anywhere without physically sitting in front of it saves time and hassle. As a technical writer focused on home lab projects, I’ve explored countless tools for remote desktop access. Today, I’ll guide you through selecting the best one (Spoiler, it’s Rustdesk), based on key features and ease of use, and provide a detailed installation walkthrough for Debian-based Linux distributions like Ubuntu or Debian itself.
Key Features for the Average Home Lab User
Before diving into specific software, let’s think about what the average user really needs from remote desktop software in a home lab context. Most home labbers aren’t running enterprise-scale operations; they’re hobbyists or small-scale pros who want reliability without complexity.
First, security tops the list. Your home lab might handle personal data, media libraries, or even smart home integrations, so encryption and strong authentication are essential to prevent unauthorized access. End-to-end encryption ensures that your sessions aren’t vulnerable to man-in-the-middle attacks, especially if you’re accessing over the internet.
Second, performance matters a lot. Low latency and smooth screen rendering are crucial for tasks like coding, monitoring dashboards, or even light gaming experiments. Features like adjustable quality settings help optimize for bandwidth, which is handy if your lab is on a home network with varying speeds.
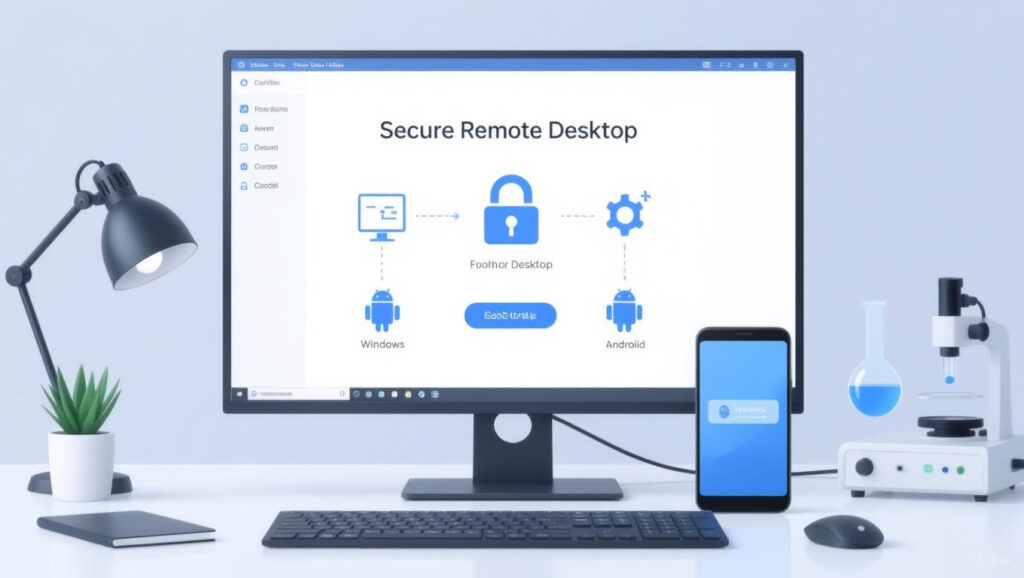
Third, cross-platform compatibility is a must. Your home lab might run Linux, but you’ll likely connect from Windows, macOS, Android, or iOS devices. Built-in support for mobile clients expands usability.
Fourth, file transfer and peripheral support enhance productivity. Being able to drag-and-drop files between your local machine and the lab server, or share clipboards and USB devices, turns remote access into a seamless extension of your workflow.
Finally, unattended access is key for headless setups common in home labs. You don’t want to log in physically every time; the software should run as a service, allowing connections anytime.
These features ensure the software isn’t just functional but truly beneficial for everyday use, like checking on a long-running script or troubleshooting a container from your phone.
Considering Ease of Use
Ease of use is the bridge between powerful features and actual adoption. For the average user, setup should take minutes, not hours, with minimal command-line tinkering unless necessary. The interface needs to be intuitive—think simple ID and password sharing for connections, rather than fiddling with IP addresses and ports. Configuration options should be accessible via a GUI, and troubleshooting guides readily available.
In a home lab, where you might be juggling multiple projects, software that auto-handles NAT traversal (punching through routers without manual port forwarding) reduces frustration. Open-source options often shine here, as community support provides quick fixes. Proprietary tools can be user-friendly but might lock you into subscriptions or limit customization. Ultimately, the best choice balances simplicity with flexibility, ensuring even beginners can get up and running while advanced users can tweak for optimization.
Why I Selected RustDesk
After evaluating options like TeamViewer, AnyDesk, NoMachine, and traditional protocols such as RDP (via xrdp) or VNC, I landed on RustDesk as the best remote desktop software for home labs in 2025. It’s open-source, free, and tailored for self-hosting, making it ideal for privacy-conscious labbers. Here’s why:
- Open-Source and Free: Unlike proprietary alternatives like TeamViewer, RustDesk is fully open-source under the AGPL license. This means no hidden costs, no usage limits, and the ability to audit the code for security. For home labs, where budgets are often tight, this is a huge win— you get enterprise-level features without subscriptions.
- Superior Security Features: RustDesk uses end-to-end encryption with options for self-hosted relays, ensuring your data doesn’t pass through third-party servers. It supports two-factor authentication and custom keys, addressing common vulnerabilities in older protocols like VNC. In a home lab, where servers might be exposed to the internet, this reduces risks compared to basic RDP setups.
- Excellent Performance and Low Latency: Built in Rust (hence the name), it’s lightweight and efficient, offering smooth sessions even on modest hardware like a Raspberry Pi. It adapts to network conditions with adjustable resolutions and frame rates, outperforming VNC in speed and rivaling paid tools like AnyDesk. For lab tasks like VM management or file browsing, this means responsive control without lag.
- Cross-Platform Support: Clients are available for Windows, macOS, Linux, iOS, Android, and even web browsers. This versatility lets you access your Debian lab from any device, a step up from Linux-centric tools like xrdp, which rely on specific clients.
- Ease of Self-Hosting: RustDesk allows you to run your own ID and relay servers, perfect for home labs where you want full control. Setup scripts make it straightforward, unlike more complex options like Apache Guacamole.
- Unattended and Headless Capabilities: It runs as a service for always-on access, with experimental headless support on Linux. This is crucial for server-only labs without monitors, where you can enable remote control post-install.
- Additional Perks Like File Transfer: Built-in file sharing, clipboard sync, and multi-monitor support round out the package, making it more than just a screen viewer—it’s a full remote toolkit.
- Active Community and Updates: With frequent releases (latest as of September 2025 is 1.4.1), and strong community backing, bugs get fixed quickly. This edges out stagnant projects like some VNC variants.
In short, RustDesk strikes the perfect balance for home labs: powerful, secure, and user-friendly without compromises.
Step-by-Step Guide: Installing RustDesk on Debian-Based Linux
Now, let’s get hands-on. This guide assumes a fresh Debian-based install (e.g., Ubuntu 24.04 or Debian 12) and focuses on setting up RustDesk for remote access to your home lab machine. We’ll install the client (which includes server functionality), configure it for unattended access, and optionally set up a self-hosted relay for privacy. If your lab is headless, we’ll include steps for a lightweight desktop environment.
Step 1: Update Your System
Start by ensuring your packages are current to avoid compatibility issues.
sudo apt update && sudo apt upgrade -yThis refreshes repositories and upgrades installed software.
Step 2: Install a Desktop Environment (If Headless)
For headless servers, RustDesk needs a display server. Install XFCE, a lightweight option:
sudo apt install -y xfce4 xfce4-goodies xorg dbus-x11 x11-xserver-utilsThen, install a display manager:
sudo apt install -y lightdm
sudo systemctl enable lightdm
sudo reboot
This sets up a basic GUI. For truly headless, you might need a virtual display like Xvfb, but XFCE works well for minimal overhead.
Step 3: Download and Install RustDesk
Fetch the latest DEB package from GitHub. As of now, it’s version 1.4.1:
wget https://github.com/rustdesk/rustdesk/releases/download/1.4.1/rustdesk-1.4.1-x86_64.debInstall it:
sudo dpkg -i rustdesk-1.4.1-x86_64.debsudo apt install -f -yThe -f flag fixes any missing dependencies automatically.
Step 4: Launch and Configure RustDesk
Run RustDesk:
rustdeskA GUI window appears. Note your ID and set a permanent password under “Security” > “Set password for unattended access.” This enables remote connections without manual approval.
For headless mode, enable it:
sudo rustdesk --option allow-linux-headless=trueStep 5: Set Up as a System Service
To run RustDesk automatically on boot:
sudo systemctl enable rustdesksudo systemctl start rustdeskCheck status:
sudo systemctl status rustdeskStep 6: Optional – Self-Host the Relay Server
For privacy, install your own hbbs (ID server) and hbbr (relay server) using the simple script.
wget https://raw.githubusercontent.com/techahold/rustdeskinstall/master/install.sh
chmod +x install.sh
./install.sh
Follow prompts to set IP/DNS and a key. Then, in the RustDesk client settings (on both controlling and controlled machines), go to “Network” and enter your server’s details.
Open firewall ports:
sudo ufw allow 21114:21119/tcpsudo ufw allow 21116/udp
sudo ufw enable
Step 7: Test the Connection
From another device, install RustDesk, enter your lab machine’s ID and password, and connect. If using self-hosting, ensure the relay is configured.
Troubleshooting: Check logs with journalctl -u rustdesk. For network issues, verify ports and NAT settings.
With this setup, your home lab is remotely accessible securely and efficiently. RustDesk transforms how you interact with your projects, whether monitoring sensors or deploying containers.