
Installing Raspberry Pi OS has never been easier thanks to the folks at the Raspberry Pi Foundation. The Raspberry Pi Imager is a fantastic tool which takes all of the guesswork out of flashing SD cards and setting up your Raspberry Pi. Jump over to https://www.raspberrypi.com/software/ and download it today. They support Windows, MacOS, and Linux.
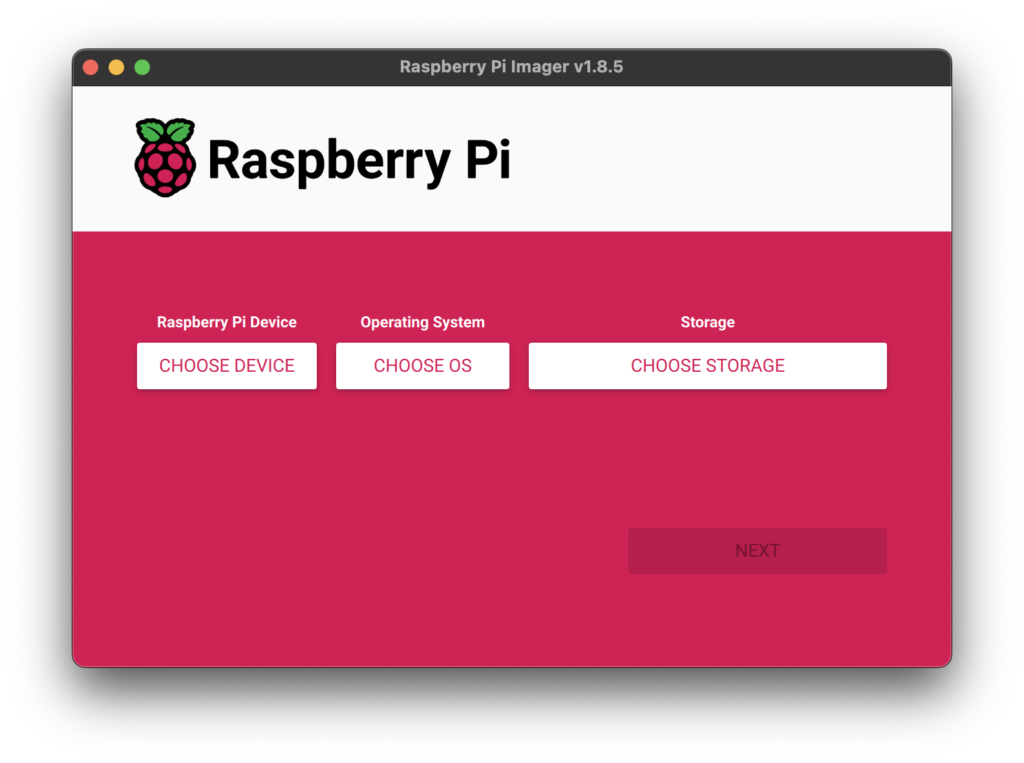
Never fear, running the imager is simple, let’s launch it and walk through the process.
- Select the type of Raspberry Pi you are using, in our case Raspberry Pi 5.
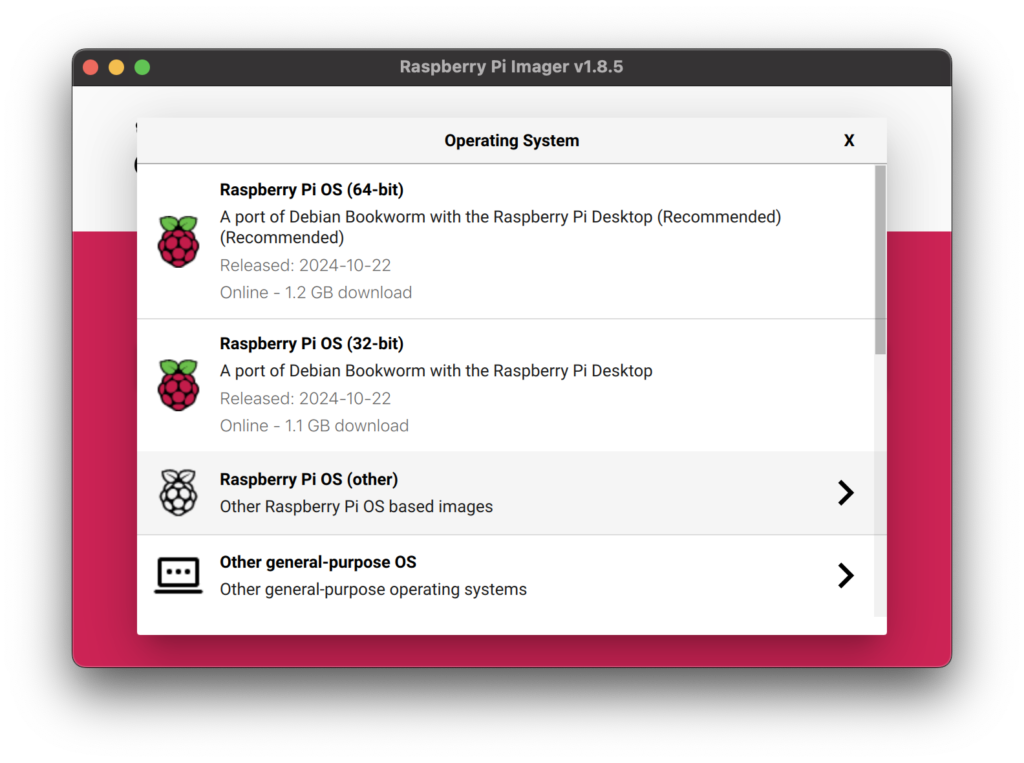
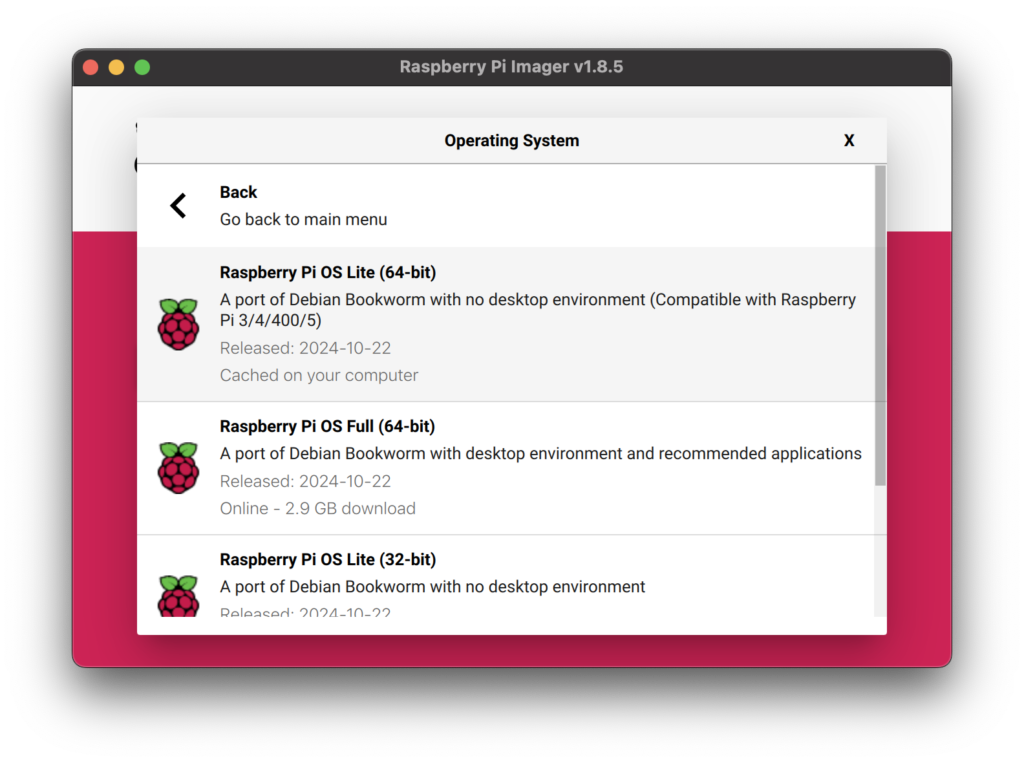
- Select your OS, for my projects I usually choose Raspberry Pi OS (other) and then Raspberry Pi OS Lite (64-bit).
- Choose your Storage device. Make sure to select the correct SD card device!
- Configure settings.
Once you have selected your OS and Storage device, click Next and you will see a pop-up for OS customization. Select Edit Settings and configure the OS as desired. Enable SSH, set a username and password, configure wifi, everything you need to hit the ground running.

Now that you have configured the settings for your environment, click Save and then Yes to the question “Would you like the apply OS customization settings?” This begin the process of installing the OS image on your SD card.
When the process completes, you can remove the SD card and install it in your Raspberry Pi. Plug in a monitor, keyboard and the power to the Pi and watch the magic happen.